The Purchase Importer allows you to import Documents (Invoices and Credit Notes) from your suppliers into Big Red Cloud.
Supplier Settings #
The first step is to start with your Supplier Settings. #
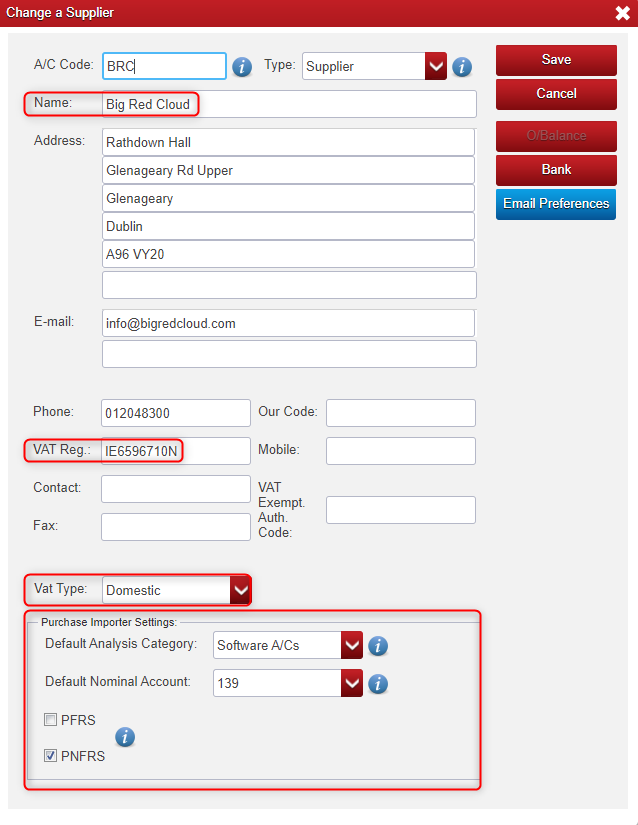
Click Lookup – Suppliers – highlight the relevant supplier – click Change and ensure the following have the correct information for that supplier:
The Name and VAT Number fields (The Purchase Importer uses these fields to try to pick up the correct Supplier on the Document).
The VAT Type, Analysis Category, Nominal Account and PFRS (Purchases for Resale) or PNFRS (Purchases Not For Resale). The Document for that Supplier will default to these.
How to access the purchase importer #
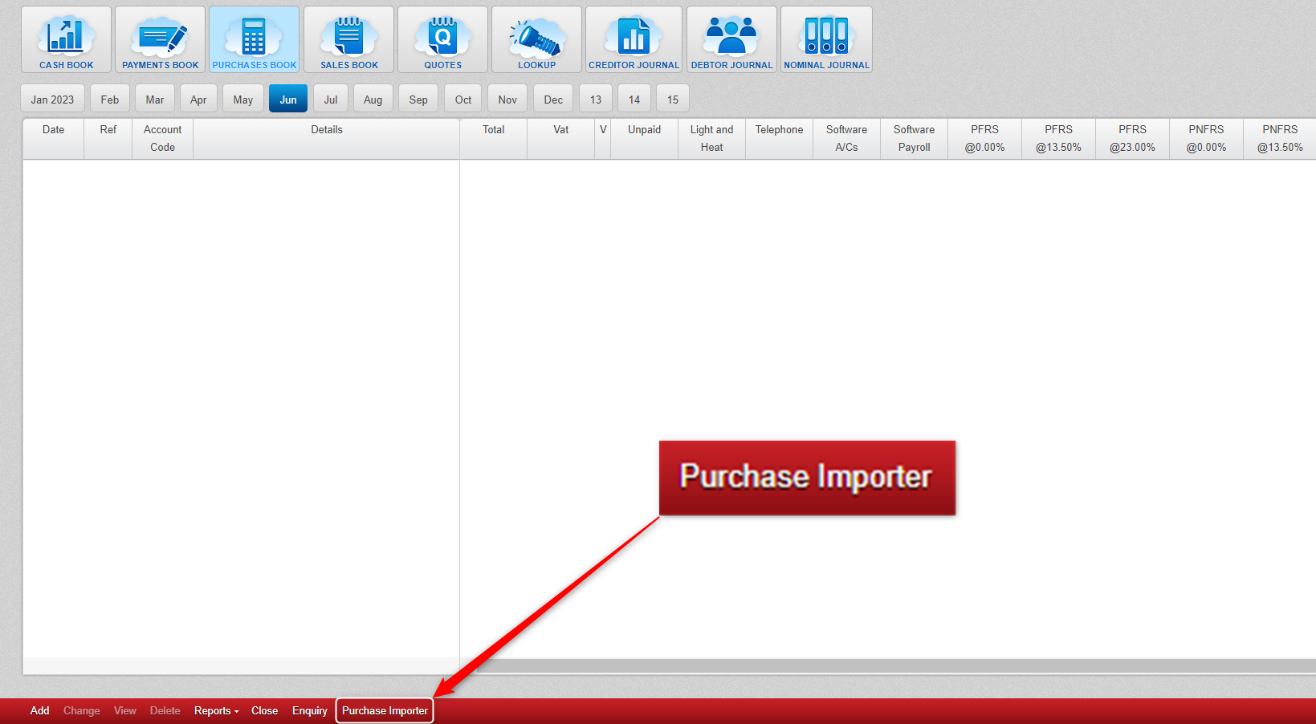
To access the Purchase Importer, first open the Purchases Book, and click the Purchase Importer button (at the bottom of the screen). This will open the Purchase Importer.
The upload and email options #
We need to consider how to get the Document(s) into the Purchase Importer. There are two options here: Upload or Email. Or you can use a mix of these two.
Option 1: Upload
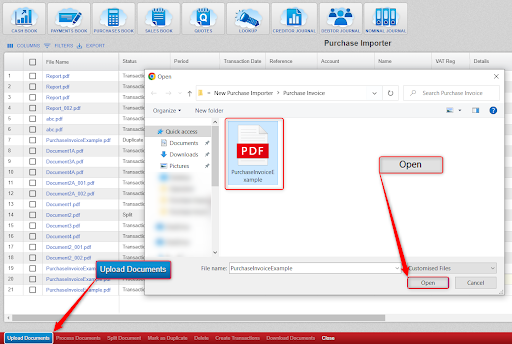
To Upload a Document (or several Documents at once) click Upload Documents – select the Document(s) to upload – Click Open.
Option 2: Email
Or to Email a Document (or several Documents at once) you simply email an attachment(s) of the Document(s) to your Purchase Importer Email Address.
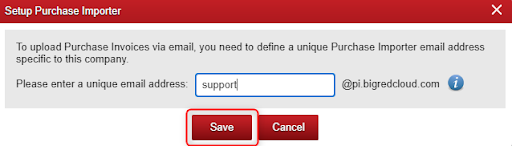
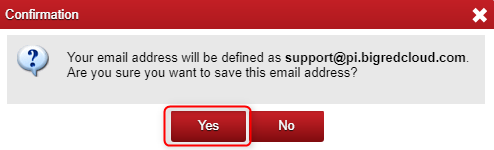
You can Define (Add) your Purchase Importer Email Address by clicking Setup – Purchase Importer, type the start of the Purchase Importer Email Address that you want to use (i.e. the bit before the @ symbol), for example: typing support would create the email address support@pi.bigredcloud.com and click Save – Yes.
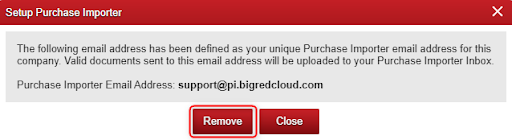
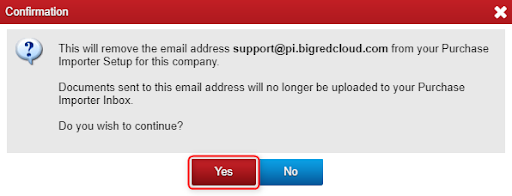
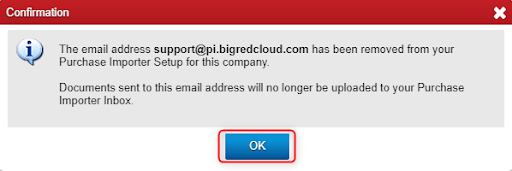
Or if you want to remove your Purchase Importer Email Address, click Setup – Purchase Importer – Remove – Yes – OK.
Both the Upload and Email options result in the Document(s) showing in the Purchase Importer. Keep in mind that there are more steps before we can import the Documents(s) into Big Red Cloud.
Viewing the document #
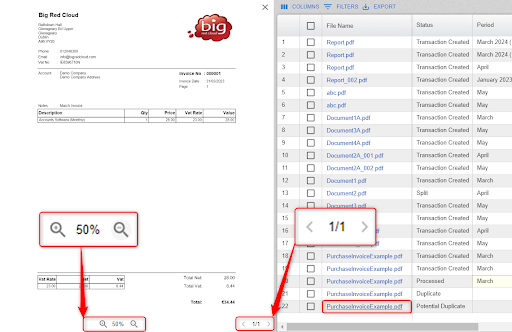
Once you have Uploaded or Emailed the Documents(s) you can view the Document(s) by clicking the File Name (on the left).
You can Zoom in and out of the Document and you can move between pages (if there are multiple pages on the Document.

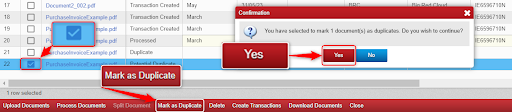
Detecting duplicate documents #
The Purchase Importer will also try to detect Duplicate Documents (i.e., if an invoice was Uploaded twice) and it will allow you to Mark the Duplicate.
To do this, tick the Document and click Mark as Duplicate – Yes.
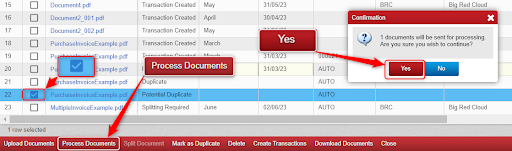
Process Document #
Processing the Document(s) is the stage where the supplier and the details/values etc. get picked up on the Document(s).
To process, tick the relevant Document(s) and click Process Documents (at the bottom of the screen) – Yes.
Once it has processed the Document(s), you can check whether it has picked up the correct details on the Documents(s) (e.g., the values, the Supplier, the Analysis Category, the Nominal Account etc.).
If the details are not correct, then you can change them to what they should be.
Multiple Invoice/Credit Note documents #
You can also import a Document that contains multiple invoices/credit notes. (e.g., 1 document with say 2 invoices or more on it).
After Processing a Document like this, the Purchase Importer should flag this with a status of Splitting Required.
Tick the Document and click Split Document.
You can also move between the pages of the document to see what is on each page.
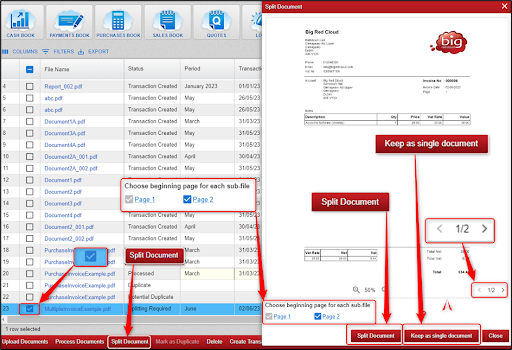
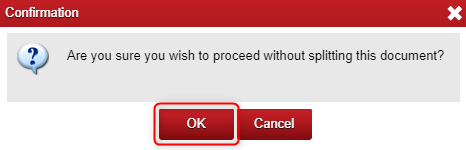
If the Document is just 1 invoice, click Keep as single document, and click OK.
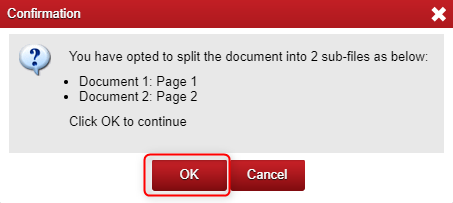
OR if the Document is a number of invoices, then ensure to tick the correct pages on the Choose beginning page for each sub-file section (in this example, Page 2 is the start page of the 2nd invoice) – and click OK.
Multiple Analysis Categories/Nominals on a document #
In some cases, an invoice may relate to multiple Analysis Categories and Nominal Accounts.
After Processing a Document, the Purchase Importer will allow you to split the Document across multiple Analysis Categories and Nominals (if you wish to).

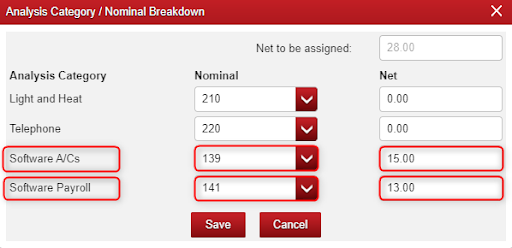
You would need to scroll over to the right of the document and click on the Analysis Category. This will bring up a drop down and select Choose Multiple A/Cs. It will show you the Net to be assigned, and you can assign it the way you want to and click Save.
Create Transactions #
The Create Transactions step is where you import the Document(s) from the Purchase Importer into Big Red Cloud.
To do this, tick the relevant Document(s) click Create Transactions – OK.
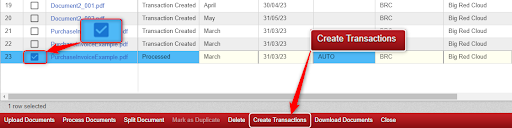
Once the transaction has been created, the Status will change from Processed to Transaction Created.
![]()
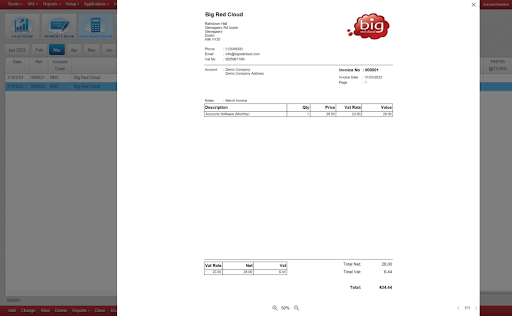
View the purchase book entry and the imported invoice #
Click into the Purchases Book and the relevant month and click View on the Purchase Book Entry. From here, click View Document to view the Purchase Invoice.

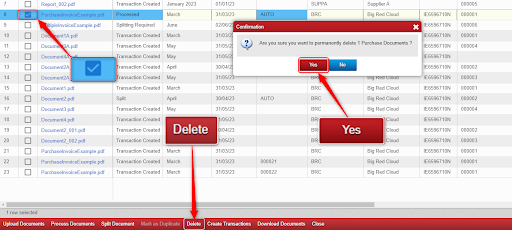
How to delete document(s) #
You can also Delete Documents (anytime up until you Create Transaction on that Document).
To do this, tick the relevant Document(s) – click Delete – Yes.
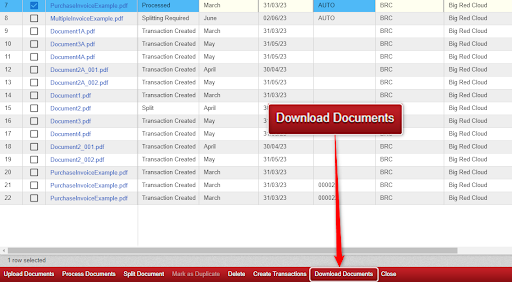
How to download document(s) #
You can Download documents onto your machine.
To do that tick the Document(s) and click Download Documents, and if there are onscreen prompts, follow those.
Search Box #
There is a Search Box (along the top right) where you can search for documents in the Purchase Importer.
There are many things you can search by here, for example, the File Name, the Status, Values etc.